2. Advanced Jupyter Notebooks
Jupyter Notebooks extends the console-based approach to interactive computing in a qualitatively new direction, providing a web-based application suitable for capturing the whole computation process: developing, documenting, and executing code, as well as communicating the results.
There are 3 advanced Jupyter Notebooks available on Engaging OOD:
- Jupyter Notebook Custom Anaconda Install: Uses a custom install of Conda to create a Conda environment inside the Jupyter Notebook
- Jupyter Notebook Custom Environment: Uses an existing Conda environment inside the Jupyter Notebook
- Jupyter Notebook With Module Selection: Allows you to preload modules into the Jupyter Notebook as it is launched from Engaging OOD
To launch one of these, start by going to the Engaging OOD portal, you can find instructions on how to login to the portal here.
Next, you will need to determine which Advanced Jupyter Notebook best suits the needs of your workflow.
Jupyter Notebook Custom Anaconda Install
A Jupyter Notebook with a Custom Anaconda Install is for workflows that need a custom installed version of conda, such as Miniconda. This is different from the Jupyter Notebook with Custom Environment since that Jupyter Notebook uses an existing Anaconda module already available on the cluster with an existing conda environment, where as this Jupyter Notebook requires you to custom install Miniconda in your home directory.
To begin, you need to download Miniconda in your home directory. Miniconda can be found here.
Then, you will need to go through the installation process. WHEN THE INSTALLATION PROCESS ASKS IF YOU WOULD LIKE TO INITIALIZE IT, DO NOT HIT YES. IF YOU DO, IT WILL BREAK OTHER SOFTWARE ON THE CLUSTER FOR YOU
Then, you will need to update your path variable, and you will need to do this before you use this conda install every time. You can update it with something like:
export PATH=/home/[username]/Miniconda3/bin:${PATH}
Once the path is updated, you will need to install jupyter inside your new conda install. You can do so with the command:
conda install jupyter
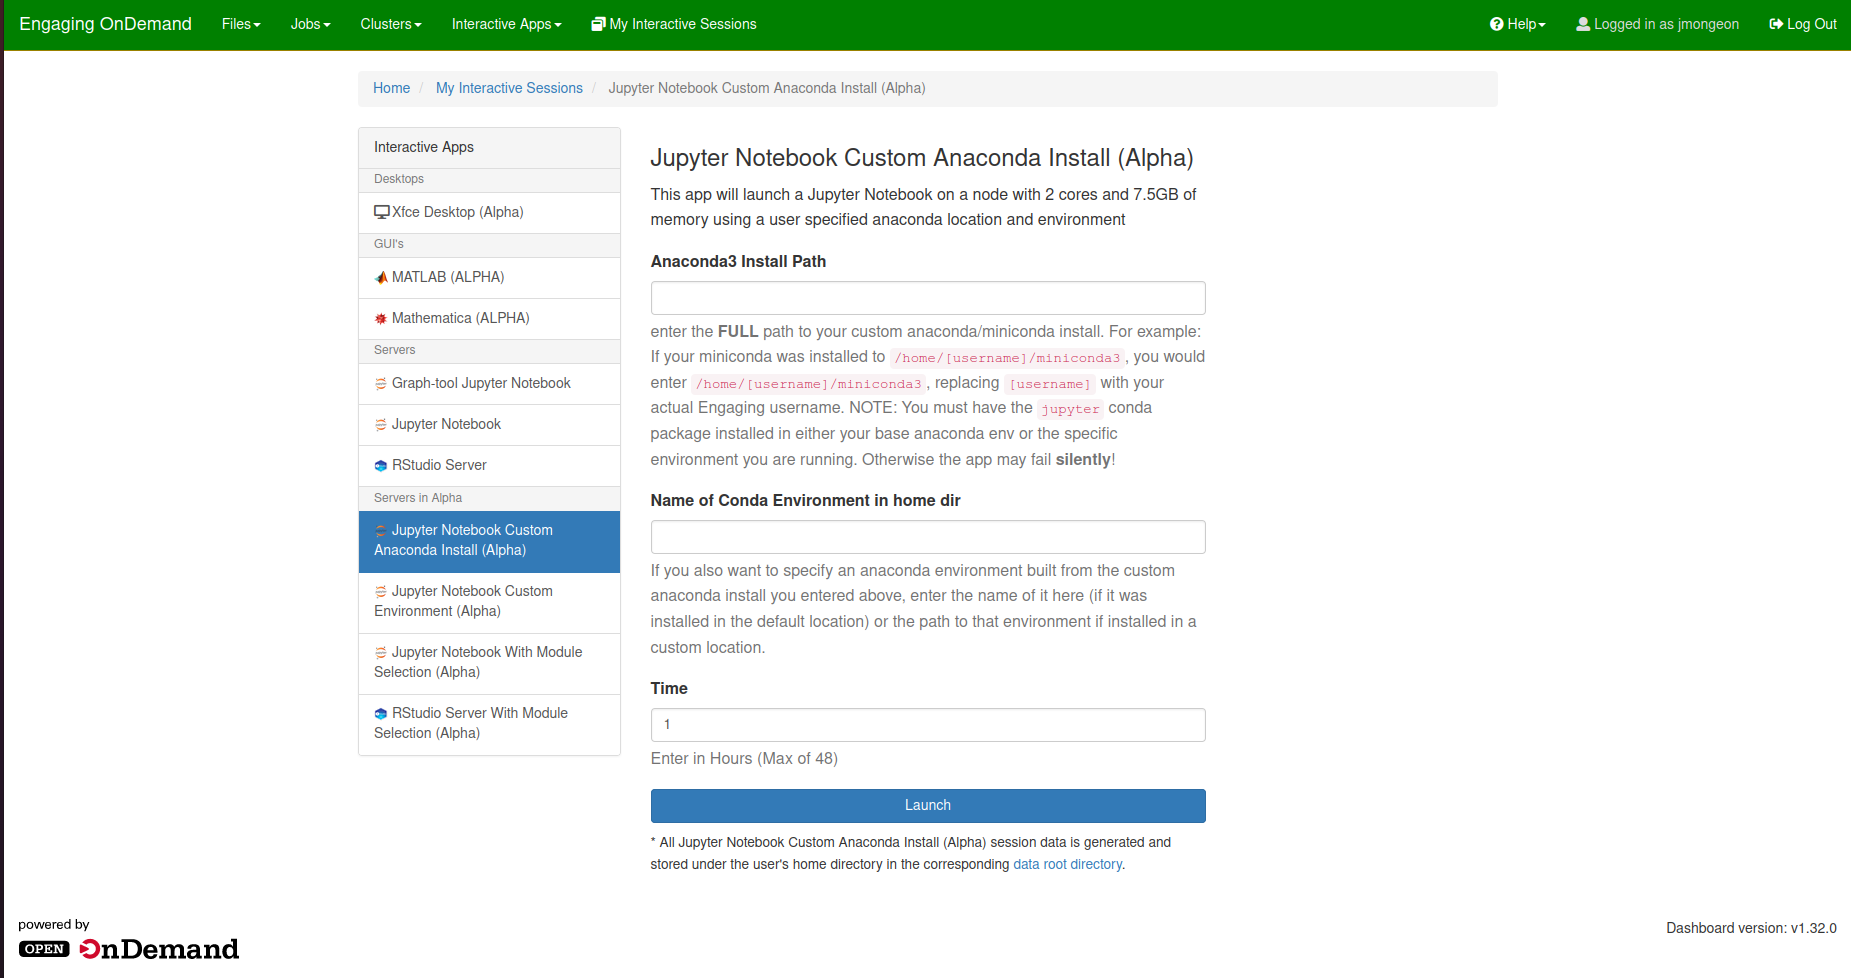
Next, go to the Engaging OOD portal, log in, and from the ‘Interactive Apps’ menu, select ‘Jupyter Notebook Custom Anaconda Install (Alpha)’

When this screen appears, you will need to fill out the full path of your Miniconda installation directory, for example /home/[username]/Miniconda3/ and then you can also specify the name of an anaconda environment, though this is not required to launch the app. Lastly, enter the number of hours you would like this Jupyter Notebook to run, with a maximum of 48 hours.
Then, click ‘Launch Console’ to start the Jupyter Notebook. It will take a few minutes to initilize the notebook, and once it is ready you will be see a button that says ‘Connect to Jupyter’
Jupyter Notebook With Custom Environment
This Jupyter Notebook is for running a Jupyter Notebook using an Anaconda module that is already installed on the cluster and an existing conda environment that you have already created. This is different from the Jupyter Notebook with Custom Anaconda Install since this Jupyter Notebook uses an existing Anaconda module and an existing conda environment instead of a custom installed version of Miniconda in your home directory.
Start by logging into the Engaging OOD portal, and under the ‘Interactive Apps’ category, select “Jupyter Notebook Custom Environment (Alpha)”
You will see a screen that looks like this:

From here, you will need to select which Anaconda module you want your notebook to use and then enter the name of your anaconda environment that you want to use within the notebook.
NOTE THAT YOUR ANACONDA ENVIRONMENT MUST ALREADY EXIST AND HAVE THE JUPYTER NOTEBOOK MODULE INSTALLED. YOU CAN INSTALL IT WITH THE COMMAND conda install jupyter.
Then you will need to specify the length of time you want your notebook to run for, with the maxmimum time being 48 hours.
Then, click ‘Launch Console’ to start the Jupyter Notebook. It will take a few minutes to initilize the notebook, and once it is ready you will be see a button that says ‘Connect to Jupyter’
Jupyter Notebook With Module Selection
NOTE THAT THIS JUPYTER NOTEBOOK APP IS STILL IN DEVELOPMENT AND THEREFORE UNEXPECTED ERRORS MAY OCCUR WHEN USING IT
This Jupyter Notebook is for workflows that require environment modules be loaded into the notebook environment. Any module that can be loaded with the command module add can be preloaded into this version of the Jupyter Notebook app.
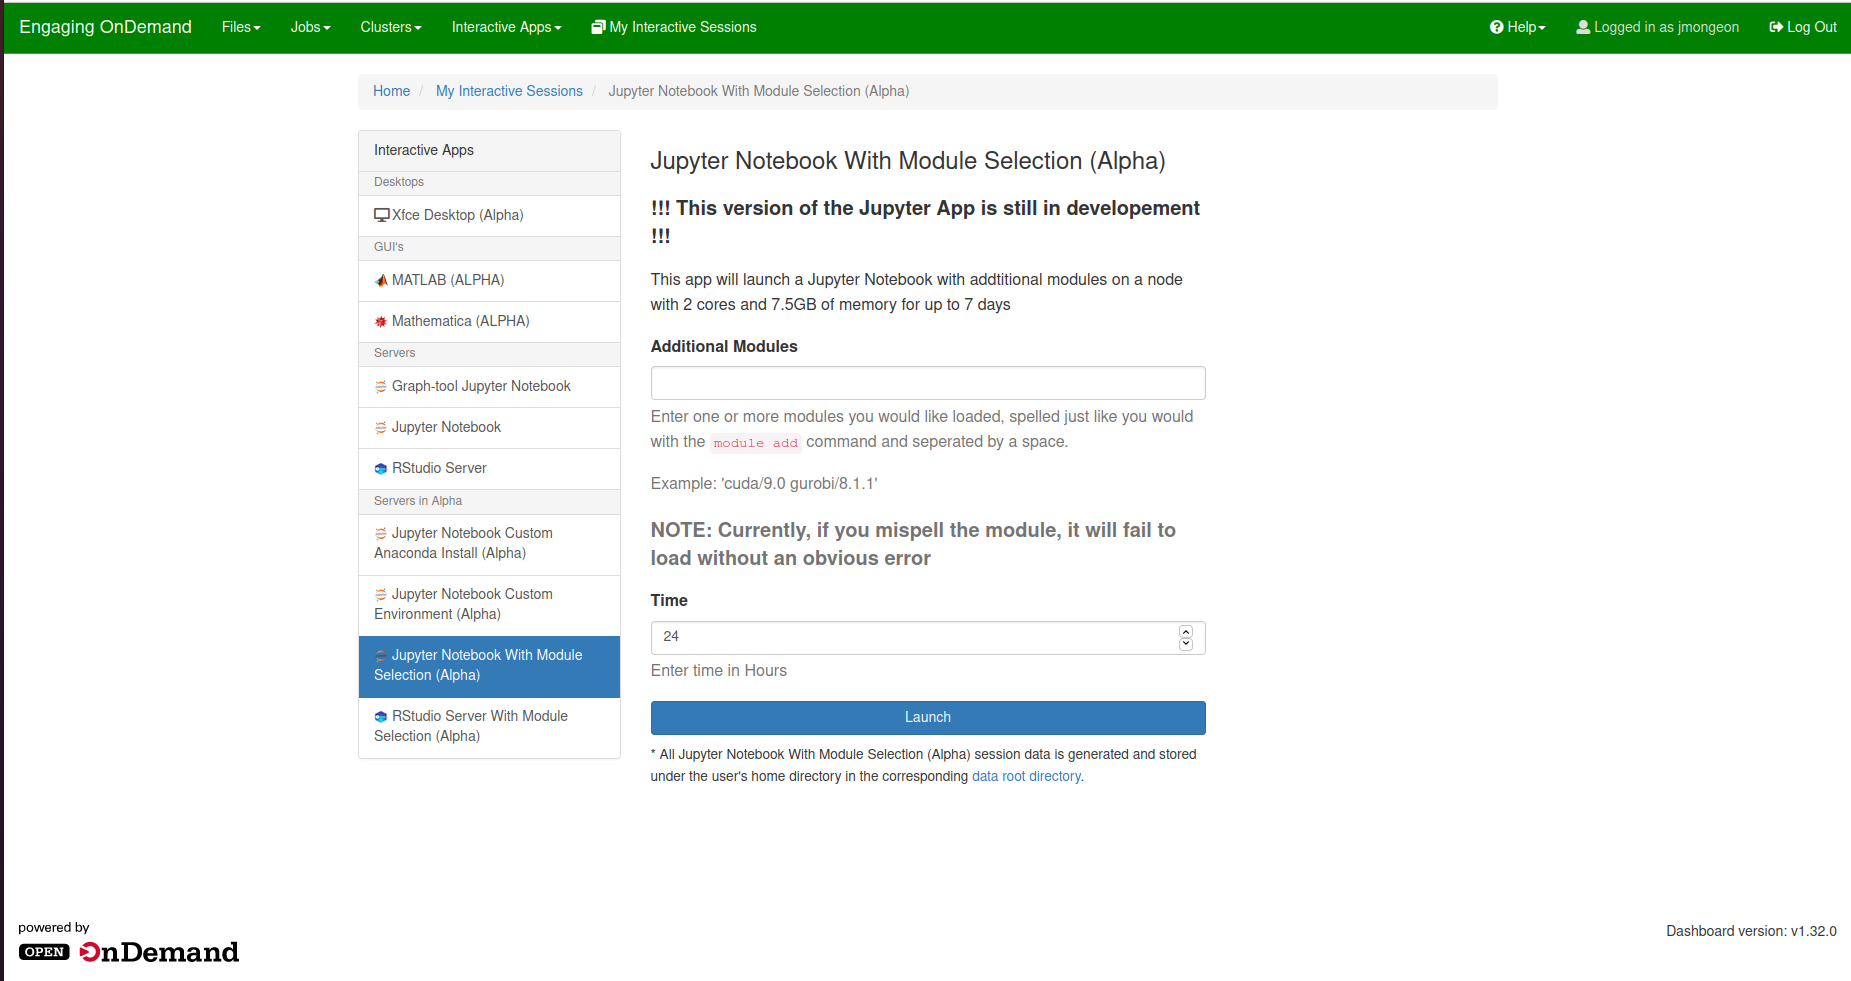
Start by logging into the Engaging OOD portal, and under the ‘Interactive Apps’ category, select “Jupyter Notebook With Module Selection (Alpha)”
You will see a screen that looks like this:

Next, list the modules and their version spelled just like you would with the module add command and seperated by a space in the entry space for ‘Addtional Modules’.
For example, cuda/9.0 gurobi/8.1.1
Last, enter the number of hours you’d like your notebook to run for, the default being 24 hours.
Then, click ‘Launch Console’ to start the Jupyter Notebook. It will take a few minutes to initilize the notebook, and once it is ready you will be see a button that says ‘Connect to Jupyter’
If you have any problems or questions using Jupyter notebooks, please email engaging-admin@techsquare.com